Fixing Uneven Thread Count in Woven Bedding Sheets
Uneven thread count appears as visible texture shifts or density gaps in woven sheets. Fixing it requires checking loom settings, yarn consistency, and tension. This guide lists symptoms, causes, and practical steps to correct thread density issues before final inspection.
- Uneven thread count usually traces to warp tension, yarn lot variation, or loom mechanical drift.
- A simple grid overlay makes density shifts visible during fabric inspection.
- Correcting the defect early in the production run avoids expensive rework of finished sheets.
- Consistent yarn sourcing and regular loom calibration reduce repeat defects.
- Documenting defect patterns helps identify whether the issue is a machine or material problem.
Uneven thread count shows up as a visible difference in fabric density across a woven sheet. The weave may feel tight in one area and open in another. This defect affects hand feel, durability, and the final retail presentation.
What does uneven thread count actually look like?
The most common sign is a band or patch where the fabric appears finer or coarser than the surrounding area. Hold the fabric up to a light source. You will see gaps in the weave where the thread count drops. Run your hand across the surface. The low-density area often feels softer or looser.
Another symptom is a diagonal drift. The thread count stays consistent in one corner but shifts gradually toward the other. This pattern usually points to a mechanical issue on the loom. Check the selvedge edges. If one side looks tighter than the other, the warp tension is uneven.
A third pattern is random speckling. Small patches of low density appear scattered across the fabric. This often comes from yarn slubs or weak threads that break during weaving. The resulting holes are small but visible under bright inspection light.
Which woven sheets show this defect most?
High-count cotton and sateen weaves make thread count differences more obvious. The tight interlacing in these fabrics means even a slight drop in density changes the look. Percale and twill weaves can hide minor variations, but a buyer with a specification sheet will still catch them.
The defect also appears in blended sheets. A cotton-linen mix can show density shifts if the linen yarn behaves differently under tension. If you source from multiple mills, compare the hand feel of each lot before accepting a shipment. A visual check under standard lighting is not enough. You need a measured count.
How do you measure thread count on a defect area?
Use a thread count card or a magnifying loupe with a grid. The card has a known number of squares. Place it over the fabric and count the threads that pass through one square. Record the number for a normal area. Then count the same square over the suspect area. The difference is your defect margin.
For a more precise check, take a sample from three points: center, left selvedge, and right selvedge. If the counts vary by more than the mill tolerance, flag the fabric. Many buyers use a simple threshold. If the count drops below the advertised number in any measured spot, the lot needs review.
Keep the measurement record. Note the lot number, the machine ID, and the date. This data helps you trace the defect back to the source. If the same loom produces the same pattern week after week, the machine needs service. If different looms show the same issue, the yarn is the problem.
Common symptoms, causes, and fixes
The table below lists the most frequent patterns seen in production. Use it to narrow down the cause before making changes.
| Symptom | Likely cause | What to do |
|---|---|---|
| Horizontal band of loose weave | Warp tension uneven across the width | Adjust warp tension on the loom and check the tension bar for wear or sticking. |
| Diagonal density shift | Beater pressure or pick density setting drift | Recalibrate the beater and verify the pick density setting against the recipe. |
| Random small holes or gaps | Yarn slubs or weak points in the lot | Inspect the yarn bale for defects. Reject the lot if the slub rate exceeds internal limits. |
| One selvedge edge tighter than the other | Warping machine misalignment or uneven take-up | Check the warping frame alignment. Re-tension the warp threads individually if needed. |
| Gradual thinning toward the end of the roll | Yarn exhaustion or weak yarn as the bale ends | Mark the roll for early use. Request a yarn report from the supplier for that specific bale. |
How to fix the defect on the loom
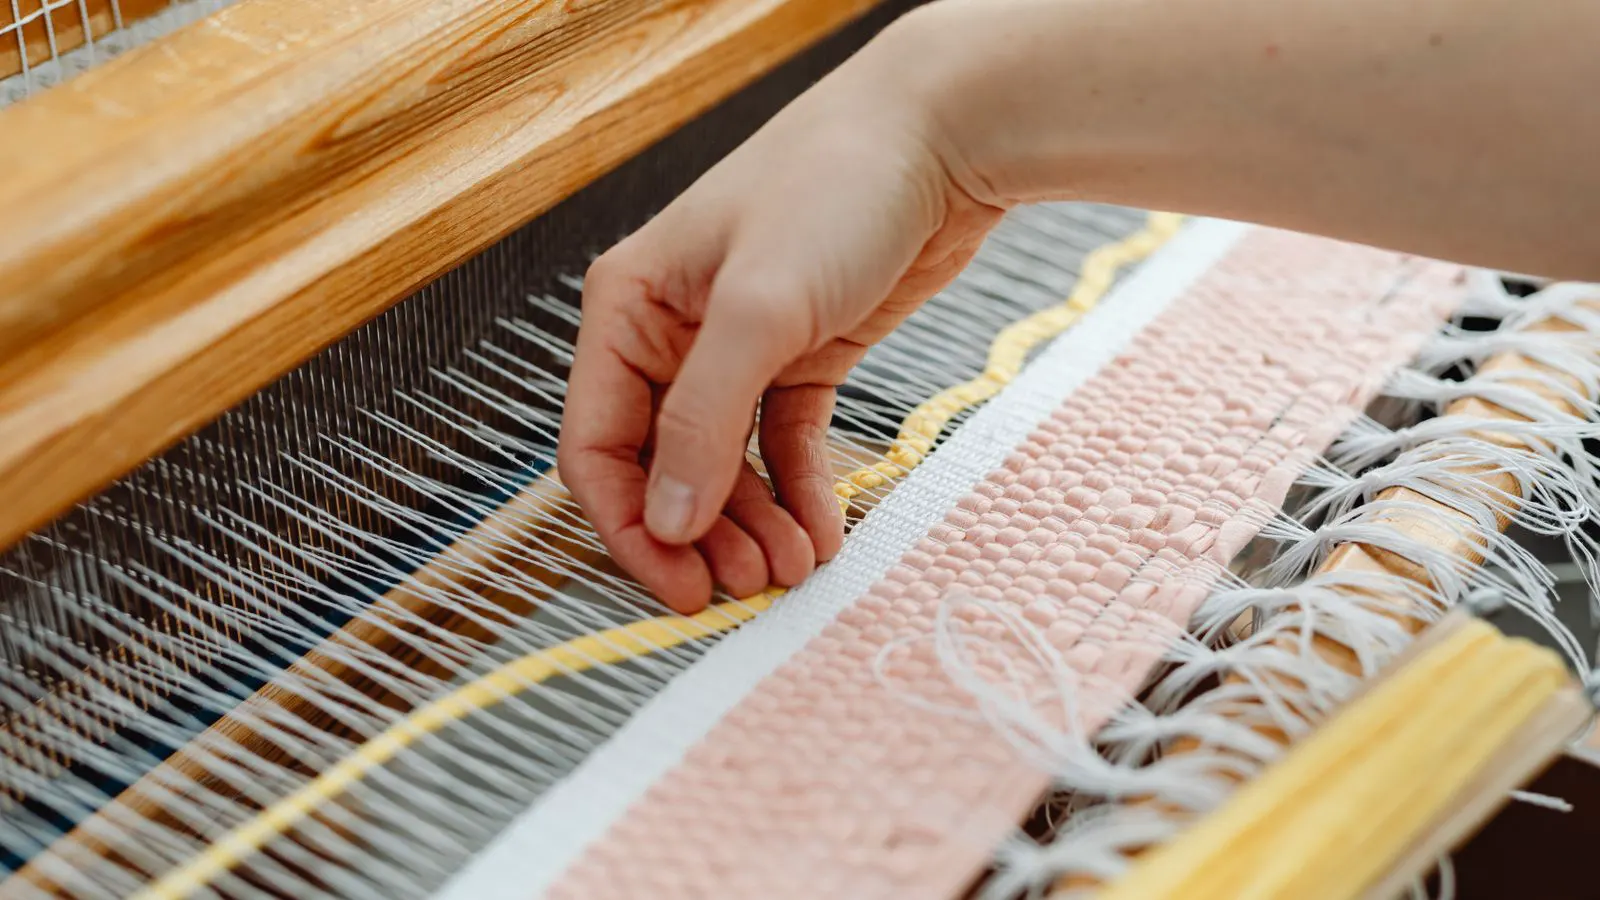
Start with the warp. Uneven thread count is rarely a weft issue. The warp determines the thread count. Check the warp beam for burrs or nicks. A damaged beam can snag threads and create local tension spikes.
Next, check the tension bar. If the bar has accumulated lint or oil, the threads will not slide freely. Clean the bar and the guides. Apply a light release agent if the threads are catching. Do not over-oil. Too much oil attracts lint and creates more friction later.
If the tension is even but the count is still off, look at the pick density. The beater packs the weft into the shed. If the beater is worn or the pressure is too low, the weft does not pack tight enough. The fabric may appear thinner even if the warp count is correct. Adjust the beater pressure in small increments. Run a test strip and measure it before adjusting again.
For diagonal shifts, check the loom frame. A warped frame changes the angle of the warp. This creates a gradual change in density from one side to the other. If the frame is out of alignment, the defect will repeat on every bolt. Call a technician if you are not sure how to adjust the frame.
How to prevent uneven thread count in future lots
Prevention starts before the weaving begins. Source yarn from a single lot when possible. If you must use multiple lots, blend them at the yarn stage, not on the loom. Mixing lots on the loom creates density bands as each lot has a slightly different twist or diameter.
Set up a pre-weave inspection. Check the yarn for twist consistency and breakage rate. Ask the yarn supplier for a test report. Do not rely on the label alone. A sample test gives you a baseline to compare against when the fabric arrives.
Run a standard check on the first bolt of each lot. Measure the thread count at the center and both selvedges. Compare the results to the previous lot. If the new lot is outside the previous range, hold the shipment. Do not wait until the whole lot is woven.
Keep a defect log. Record every instance of uneven thread count. Note the machine, the yarn lot, and the date. After a few months, the log will show patterns. If a specific machine always fails, service it. If a specific yarn supplier always causes issues, negotiate a better specification or switch suppliers.
How to handle a rejected lot
If you find uneven thread count after the fabric is cut and sewn, your options are limited. You can still use the fabric if the defect is minor and in an inconspicuous area. For example, a small density shift near the hem can be trimmed out. A shift across the entire visible area is not acceptable for a retail sheet.
If the fabric is rejected, send the sample and the measurement data to the mill. Include a photo of the defect and the thread count readings. A good mill will investigate the loom logs and the yarn lot. If the mill cannot provide a root cause, request a credit or replacement. Do not accept a vague explanation like “loose weave” without data.
For future prevention, add a clause to your purchase order. Specify the maximum allowable variation in thread count. Most mills can meet a tight tolerance if you state it clearly. A specification like “count must be within 3 percent of the stated number across the full width” removes ambiguity.
How to inspect thread count without specialized equipment
You do not need a high-end analyzer to catch most defects. A simple thread count card costs little and works well. Keep one at the receiving dock. Before stacking a new bolt, pull it from the roll and measure three spots.
Use a consistent lighting setup. Inspect the fabric under the same light every time. Bright, even light makes density gaps visible. Avoid inspecting in direct sunlight, which creates hot spots and shadows that hide or exaggerate defects.
Train your inspection team. New staff often miss small density shifts. Show them examples of good fabric and bad fabric. Ask them to count the threads on a defect sample. When they can identify the change by feel and sight, they are ready to work independently.
How does thread count affect the final sheet quality?
A consistent thread count gives the sheet a uniform hand feel. When the density varies, the sheet drapes unevenly. One area may be stiff while another is soft. This affects comfort and can lead to customer complaints.
Thread count also influences shrinkage. If the weave is loose in one area, that area may shrink more during the first wash. The sheet can warp or develop a bias. A consistent count reduces the risk of distortion in the finished product.
For high-end products, thread count consistency is part of the brand promise. A buyer who markets a “premium” sheet expects a uniform fabric. A visible density shift undermines that promise. Fix the defect on the floor, or the defect becomes part of the product story.
Frequently asked questions
Can I fix uneven thread count after the sheet is sewn?
Only if the defect is small and in a low-visibility area. You can trim the affected section if it is near a hem or seam. If the shift covers the main body of the sheet, the defect cannot be fixed after assembly.
What is the best way to detect a thread count shift without a machine?
Use a thread count card with a grid. Place it over the fabric and count the threads in one square. Compare the count in a normal area to the suspect area. A simple difference of a few threads per square often reveals the issue.
Does the type of weave affect how visible the defect is?
Yes. Sateen and high-count weaves make density shifts very visible because the weave is tight and uniform. Percale and twill can hide minor variations, but they will show up under close inspection or in the hand feel.
How often should I check thread count during production?
Check every new lot of fabric and at least once per shift for ongoing production. If you use multiple looms, check each loom separately. A defect on one machine does not mean the others are fine.
What documentation should I keep with a rejected lot?
Keep the thread count measurements, the lot number, the machine ID, and photos of the defect. Include a sample of the fabric if possible. This data helps the mill trace the problem and supports any claim for replacement or credit.